3D printing in five acts
Act I: I do not buy a 3D printer
This is how it started: a Black Friday sale. If you saw the prices I saw, I’m quite certain you’d say what I said: “Ryan, with deals this good, can you afford not to get a 3D printer? If you don’t buy one now, imagine how much money you’ll lose buying it later. They’re practically paying you to buy a printer!”
I was ready to click “buy” but then the other half of my brain arrived. “Ryan,” it said gently, “have you ever purchased anything thinking it would blossom into a hobby only to find yourself making a sheepish, Hemingway-esque ‘For Sale, Barely Used’ post on Facebook Marketplace months later?” The more responsible neurons had a point. Of course I have. I pumped the brakes and went looking for a post-desire justification. What would I actually do with a 3D printer? I found a list of 100 popular prints and saw that 80% of them were fidgets and other plastic trinkets. I don’t need a trinket machine! I have kids! I live in the trinket factory!
So I didn’t buy a 3D printer.
Act II: I do buy a 3D printer
By this time, the algorithms had unfortunately discovered that I was curious about 3D printing. I kept seeing videos about interesting and useful prints. Several months later, Bambu Lab introduced the X2D. Several reviews praised it, raved about its capabilities, with one reviewer even saying they’re surprised it doesn’t cost more. I can only resist temptation so many times! (once).
A few things tipped me over the edge:
- The kids. I thought it would be fun to do projects with them. It’s a cool thing and they like cool things! I’d like to avoid becoming a plastic junk factory, but I’m willing to be a little flexible if they can use it creatively.
- Gridfinity. I’m a sucker for organization. I have a bunch of junk drawers that the Container Store alone cannot solve and this is a way to build flexible organization.
- I love learning new stuff from scratch and I like the idea of solving problems around the house with new tools.
So I bought a Bambu Lab X2D.
Act III: Using a 3D printer
It’s kind of magical to watch an object come into existence. I can see why people get sucked into printing!
I’m surprised how much there is to learn (in a pleasant way). My understanding is that printers today are much easier than 10-15 years ago. They do lots of things automatically: calibration, bed leveling, detecting when something has gone quite wrong. And yet there’s still lots of stuff to figure out and do. There are different types of filaments—PLA, PETG, ABS, TPU and their properties; different types of software (CAD, slicers); and basic knowledge like how to remove a print from the plate, what temperature you should do it, how to maintain the machine.
That said, the learning curve is pretty gentle. My daughter and I unboxed the machine, set it up, and did a test print in an evening. Shortly after, the machine asked me to lubricate some rods. But the frowning robot on the screen was accompanied by a QR code to a wiki and videos. You can start by downloading other people’s models and printing them. There are tons of learning resources online. Bambu Lab Academy has tons of official videos; YouTube has more tutorials than you could ever watch.
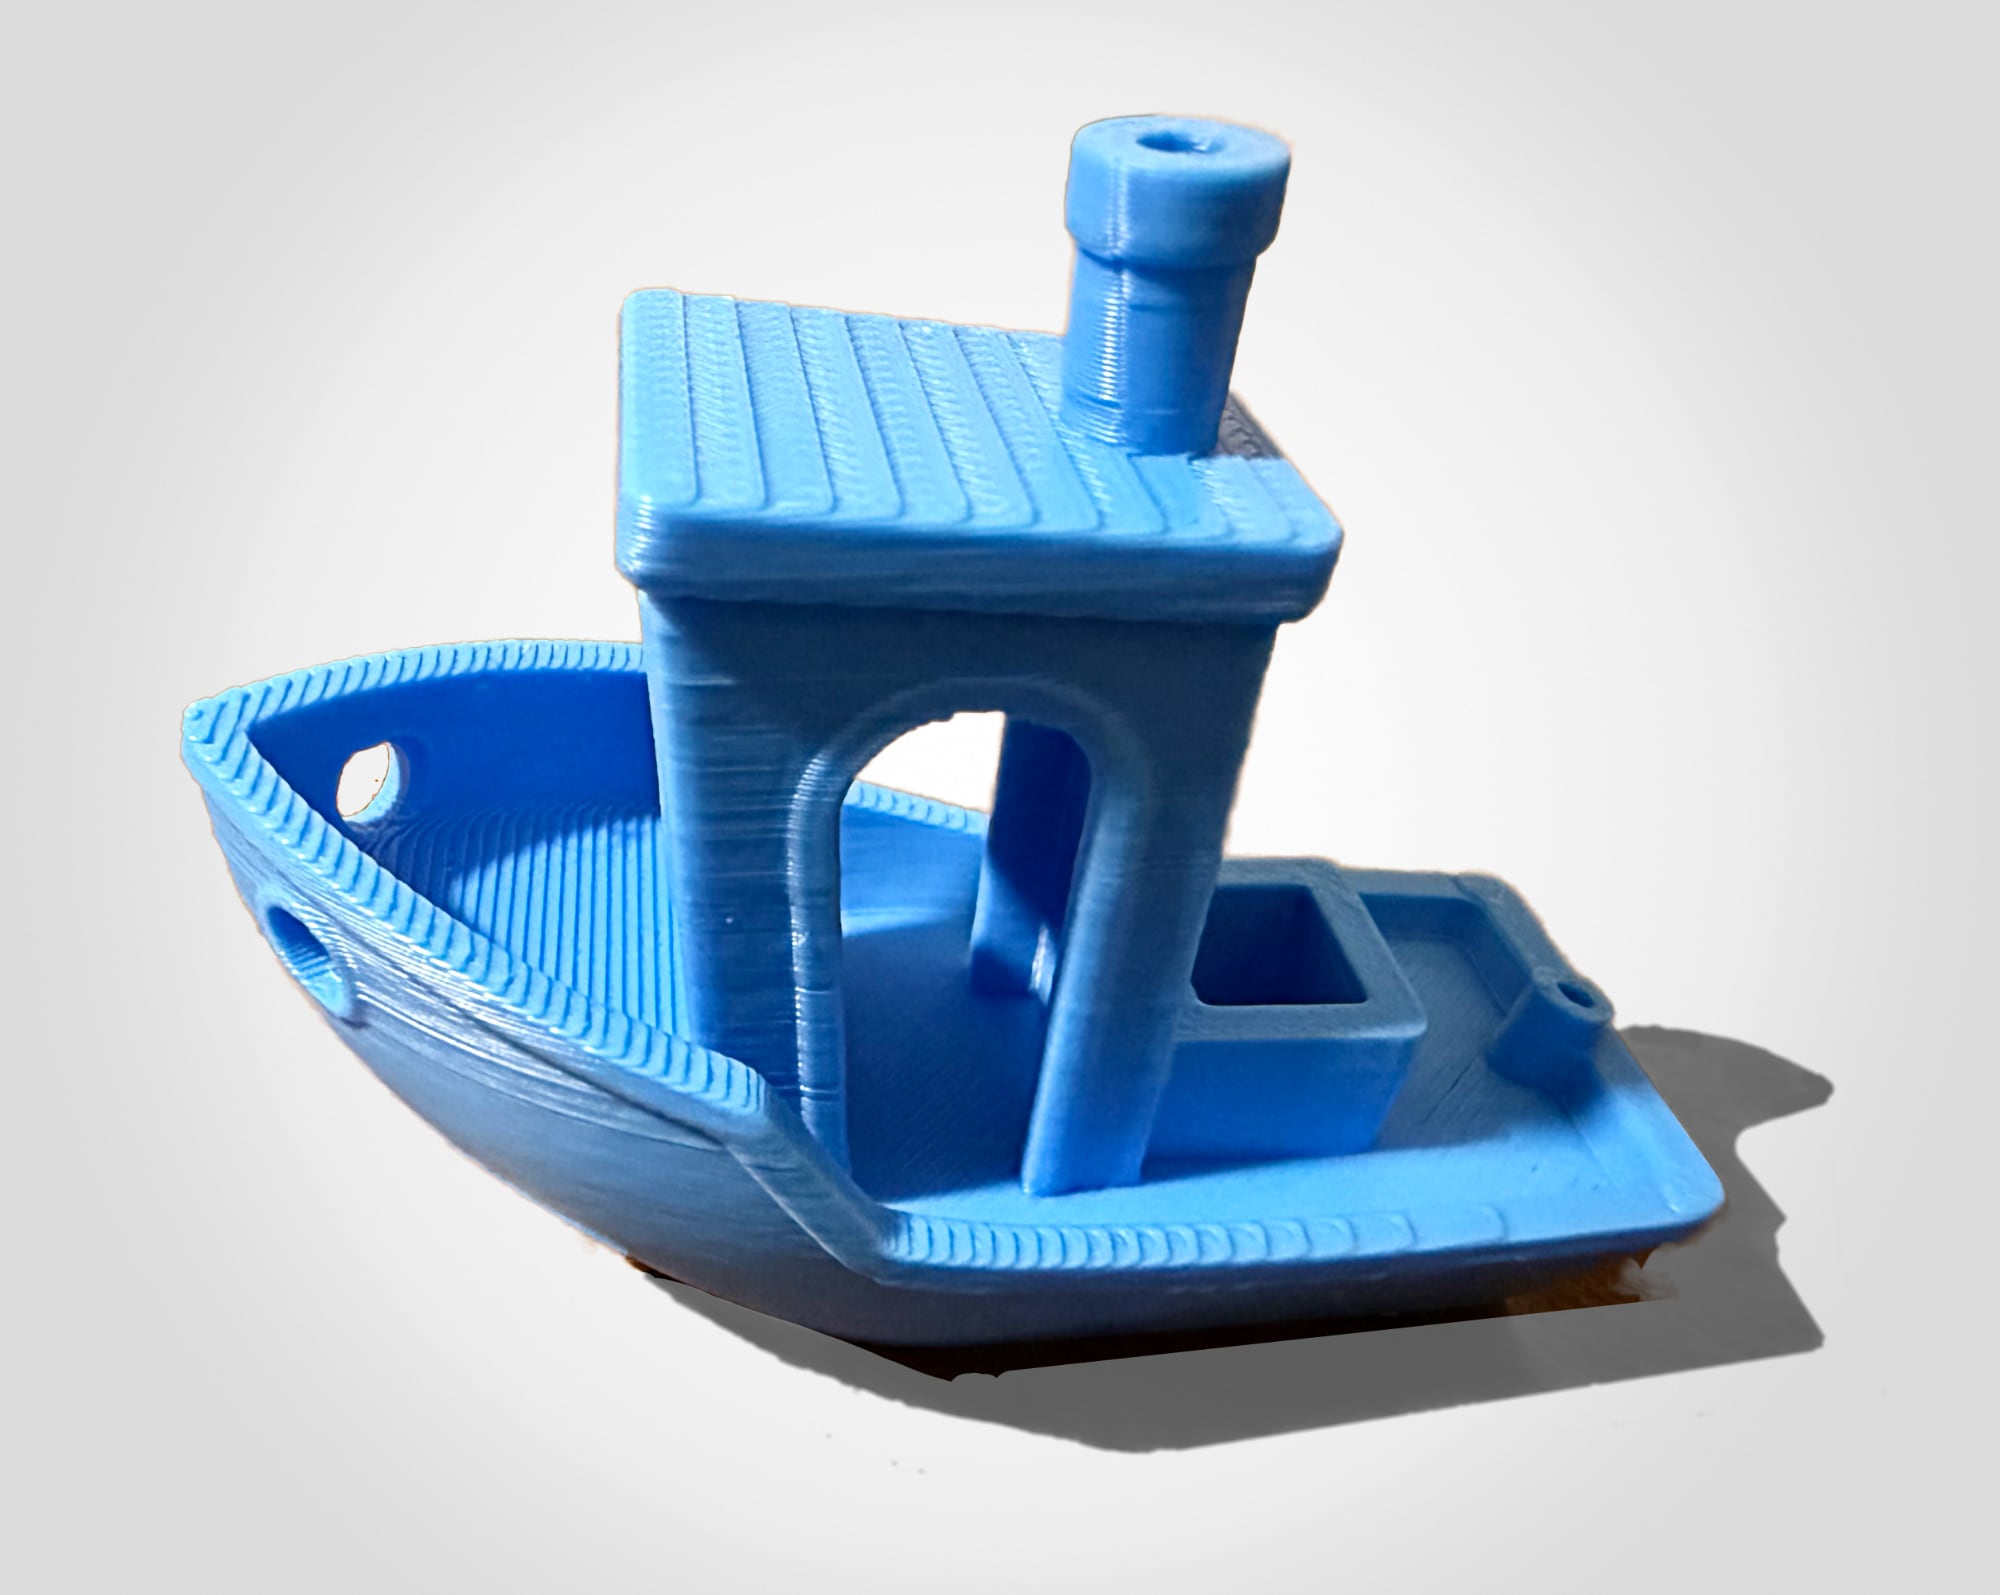 Benchy, a boat, is often used as a test print. This one is ours.
The bit where you print things for your printer is a little meta. Do you want a toolbox for these items? Click here to print one. Wild! Need an extra spool for your filament? Need a poop chute? Want a swatch of filament colors? Print, print, print. I hope not to spend all my time printing things for my printer. That feels like the adult version of the kids’ fidget toys. (But yes, I did print all of the things listed here).
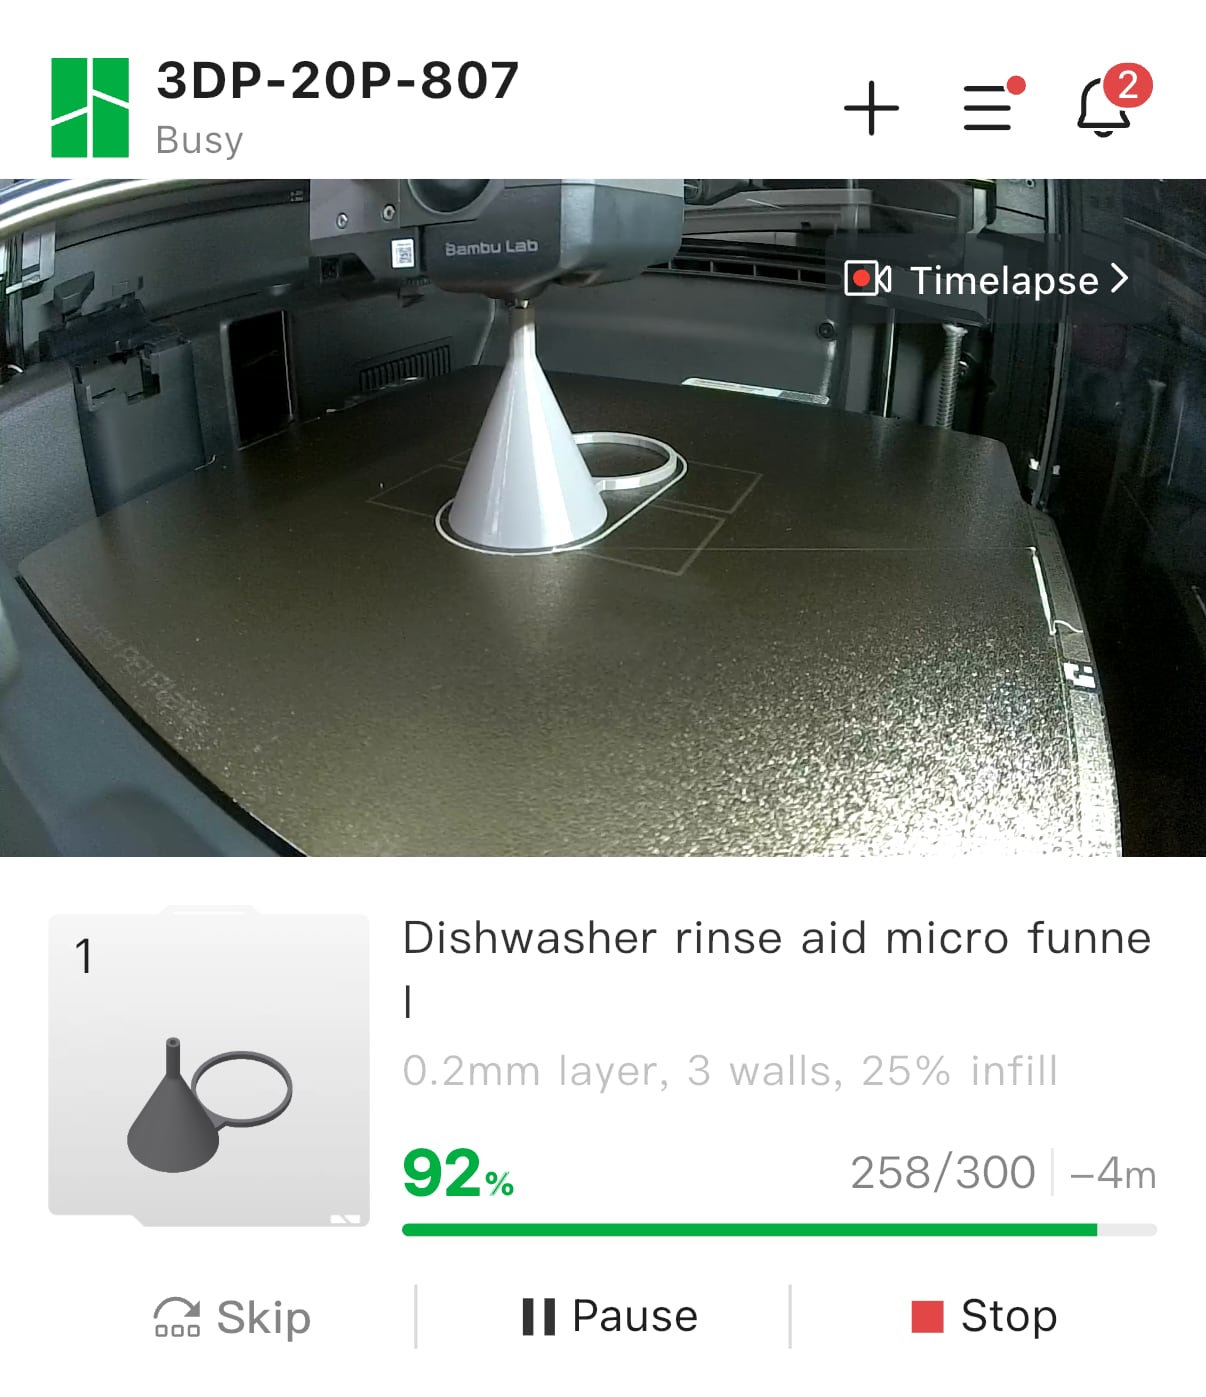
I also did some prints to get the rest of the family on board. For example: a tiny funnel that attaches to a JetDry rinse aid bottle and makes it easier to pour. (In every household there is one person who refills the rinse aid. I’m embarrassed to say that in mine it’s not me).

My younger daughters each picked a design and color and printed one of these cool bookmarks.
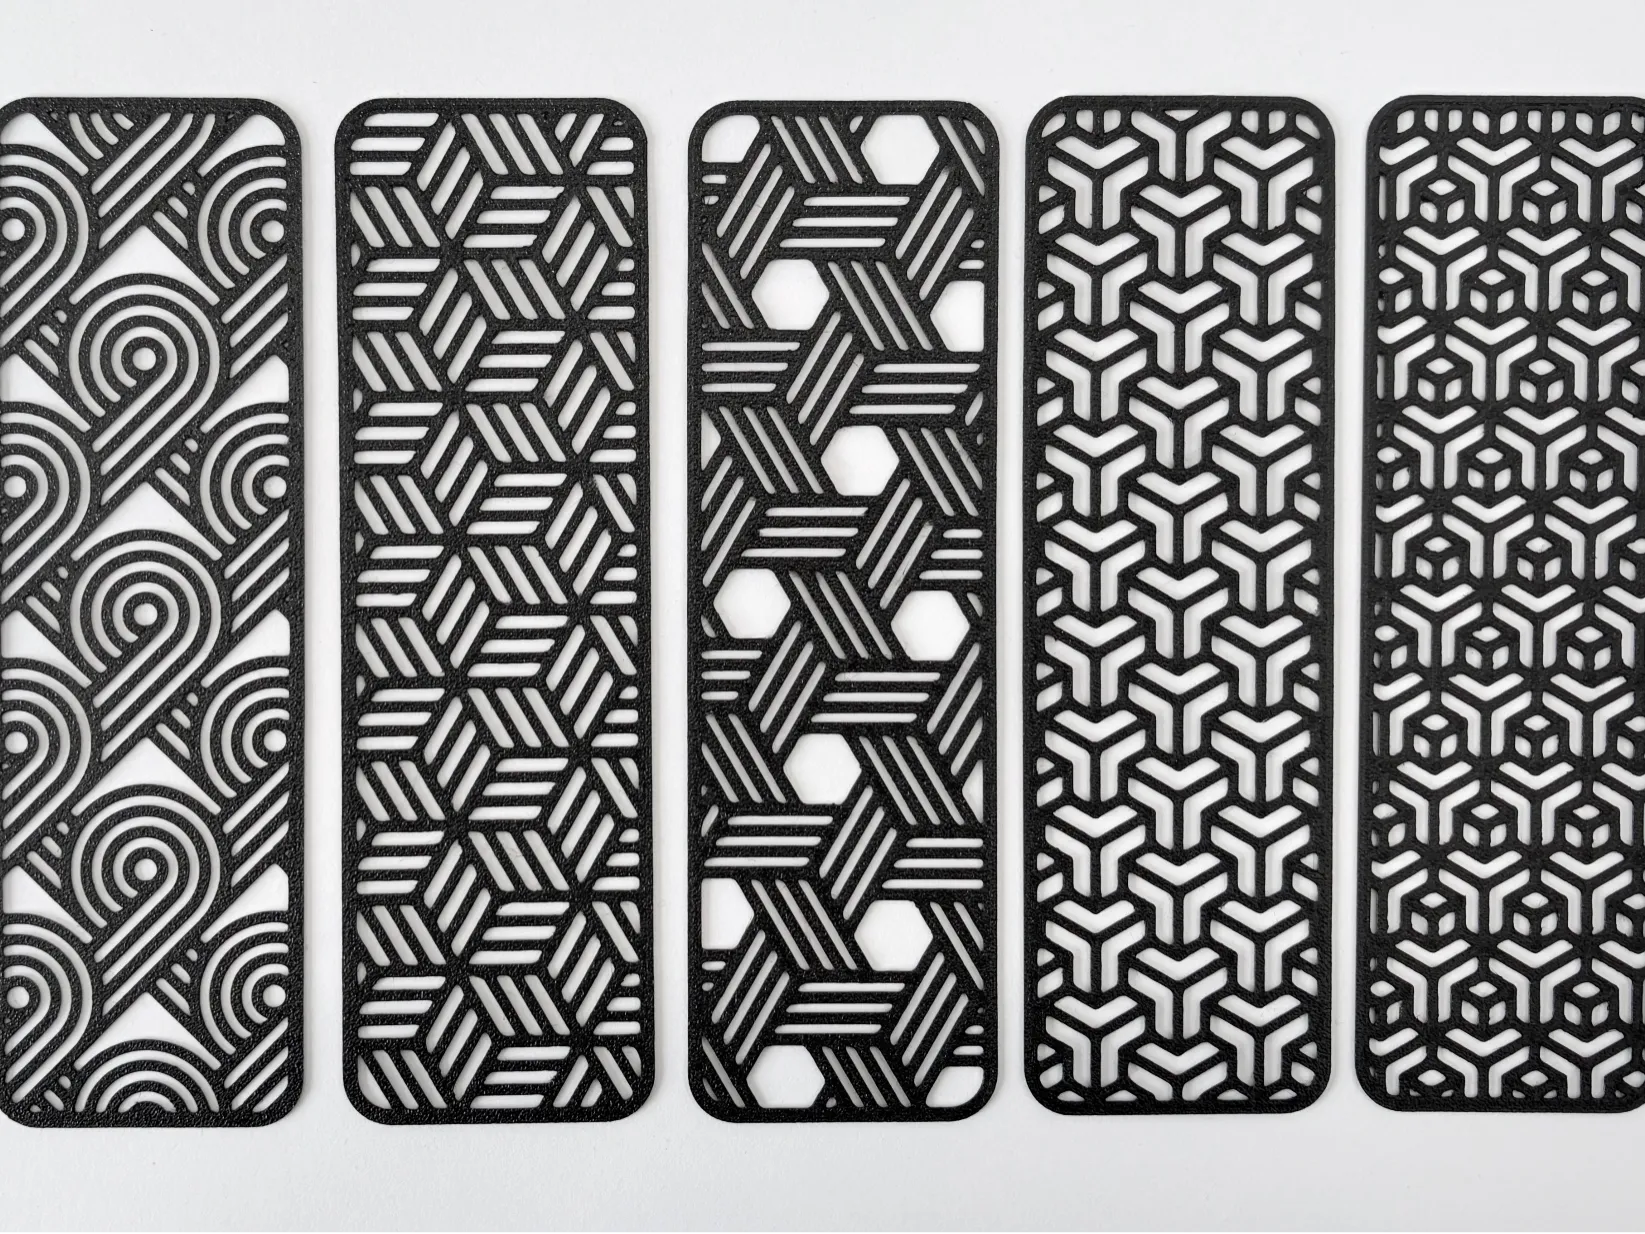
(I highly recommend them. They only take ~15 minutes, they feel delicate, but are pretty resilient.)
Act IV: Gridfinity
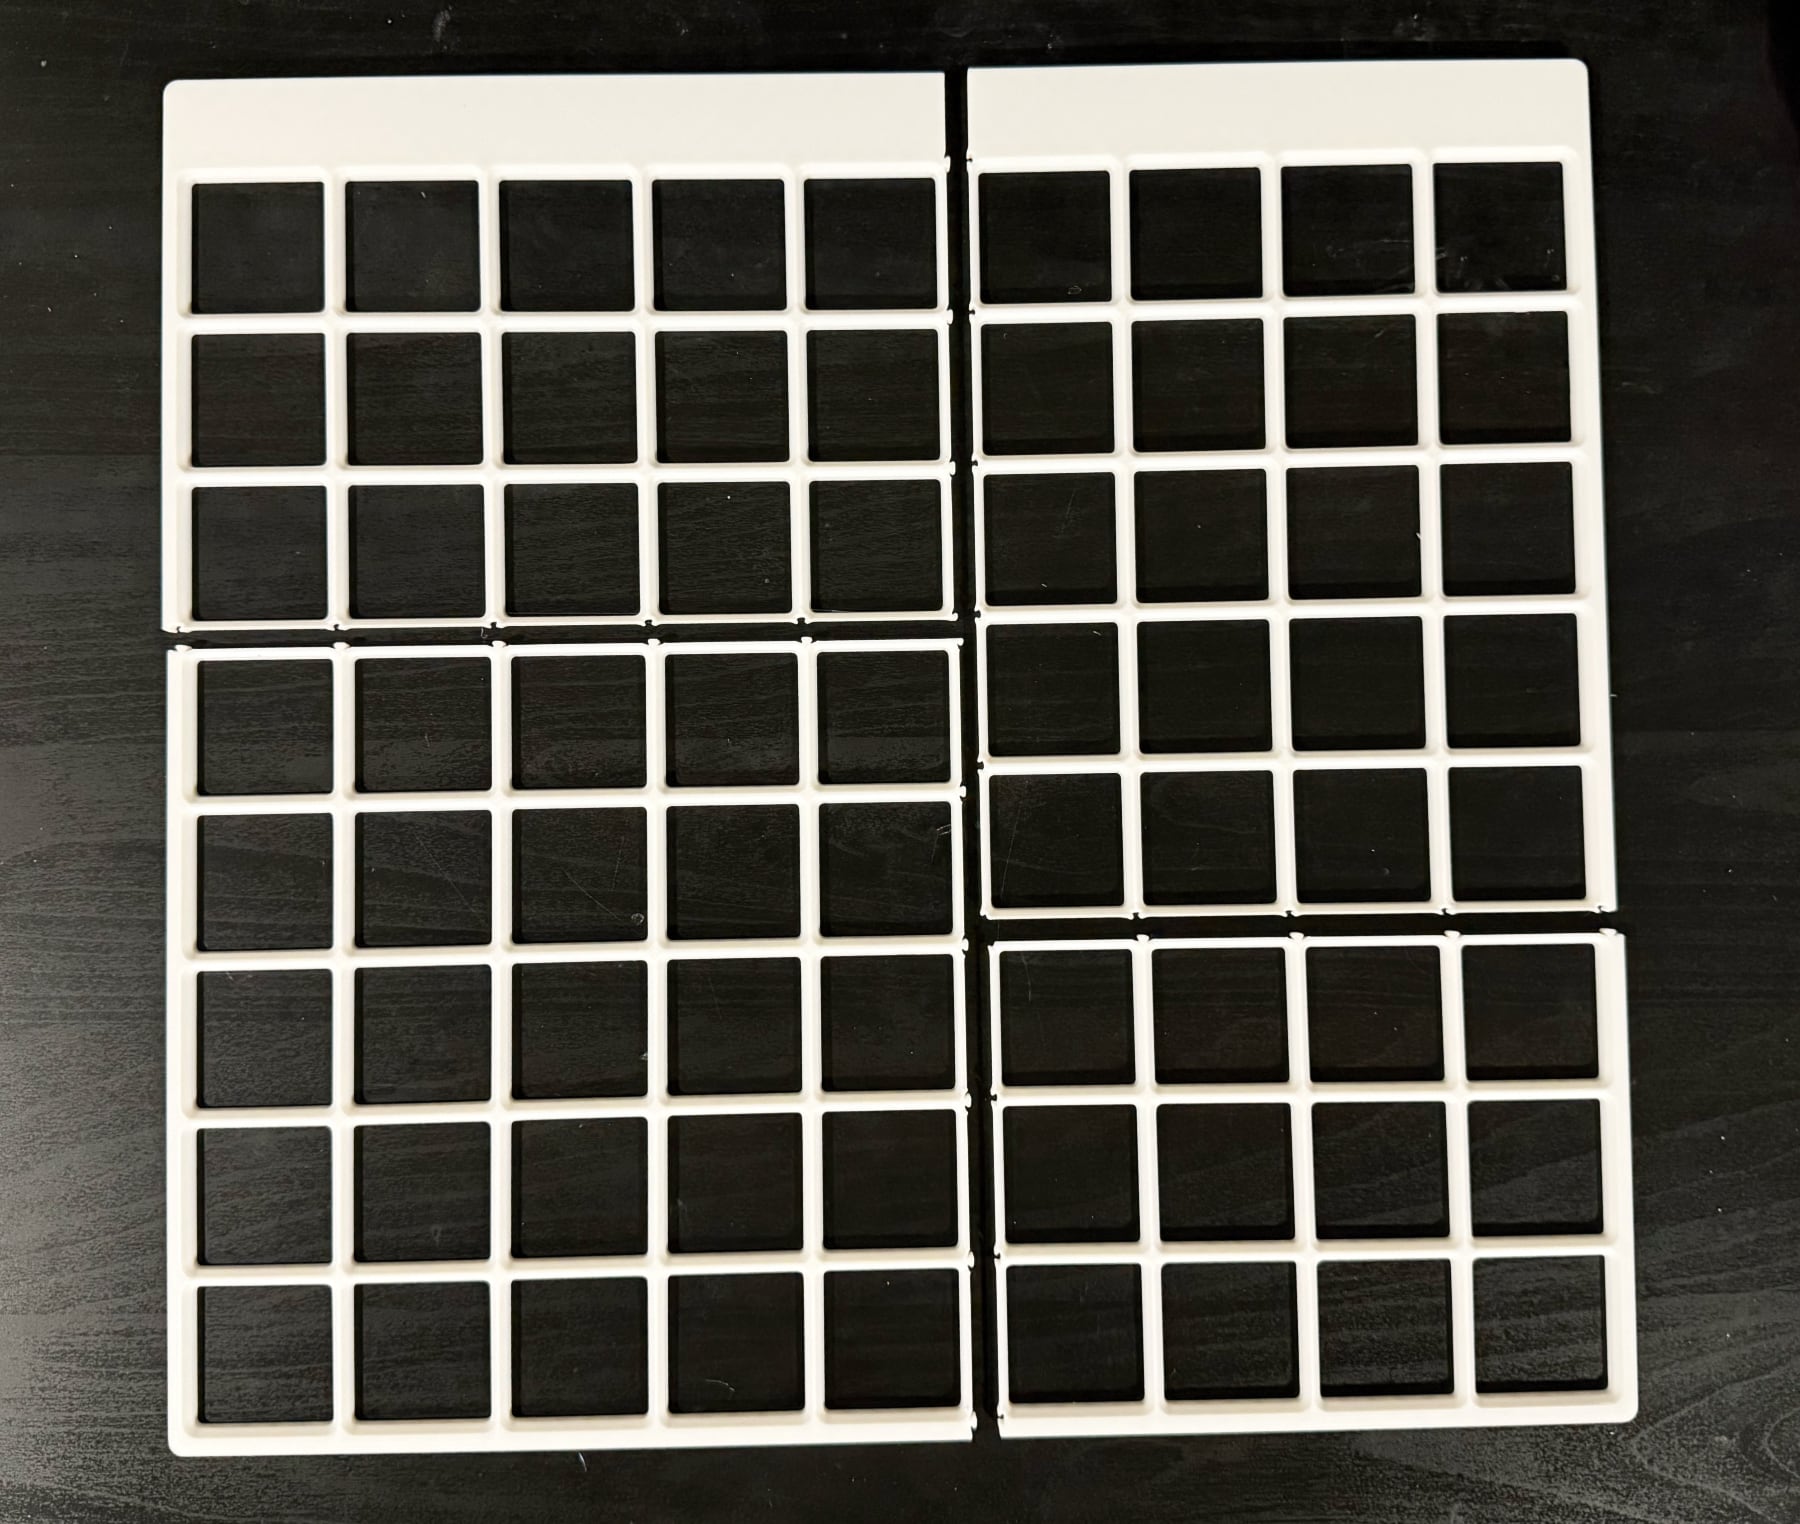
Gridfinity is one of the reasons I bought a printer, so I wanted to make myself actually try it early on. The short explanation of the system is that you measure a space, print a grid with 42mm slots, then print variable-size containers that sit in those slots. Some people have designed bins for specific tools (like a pair of pliers or SD cards).
The first drawer I tackled was in the bathroom. I had a false start because I did the math wrong, but it was a good lesson on the importance of correct math. These are the steps I used (warning—boring):
- I measured the drawer interior with a tape measure and a laser measure.
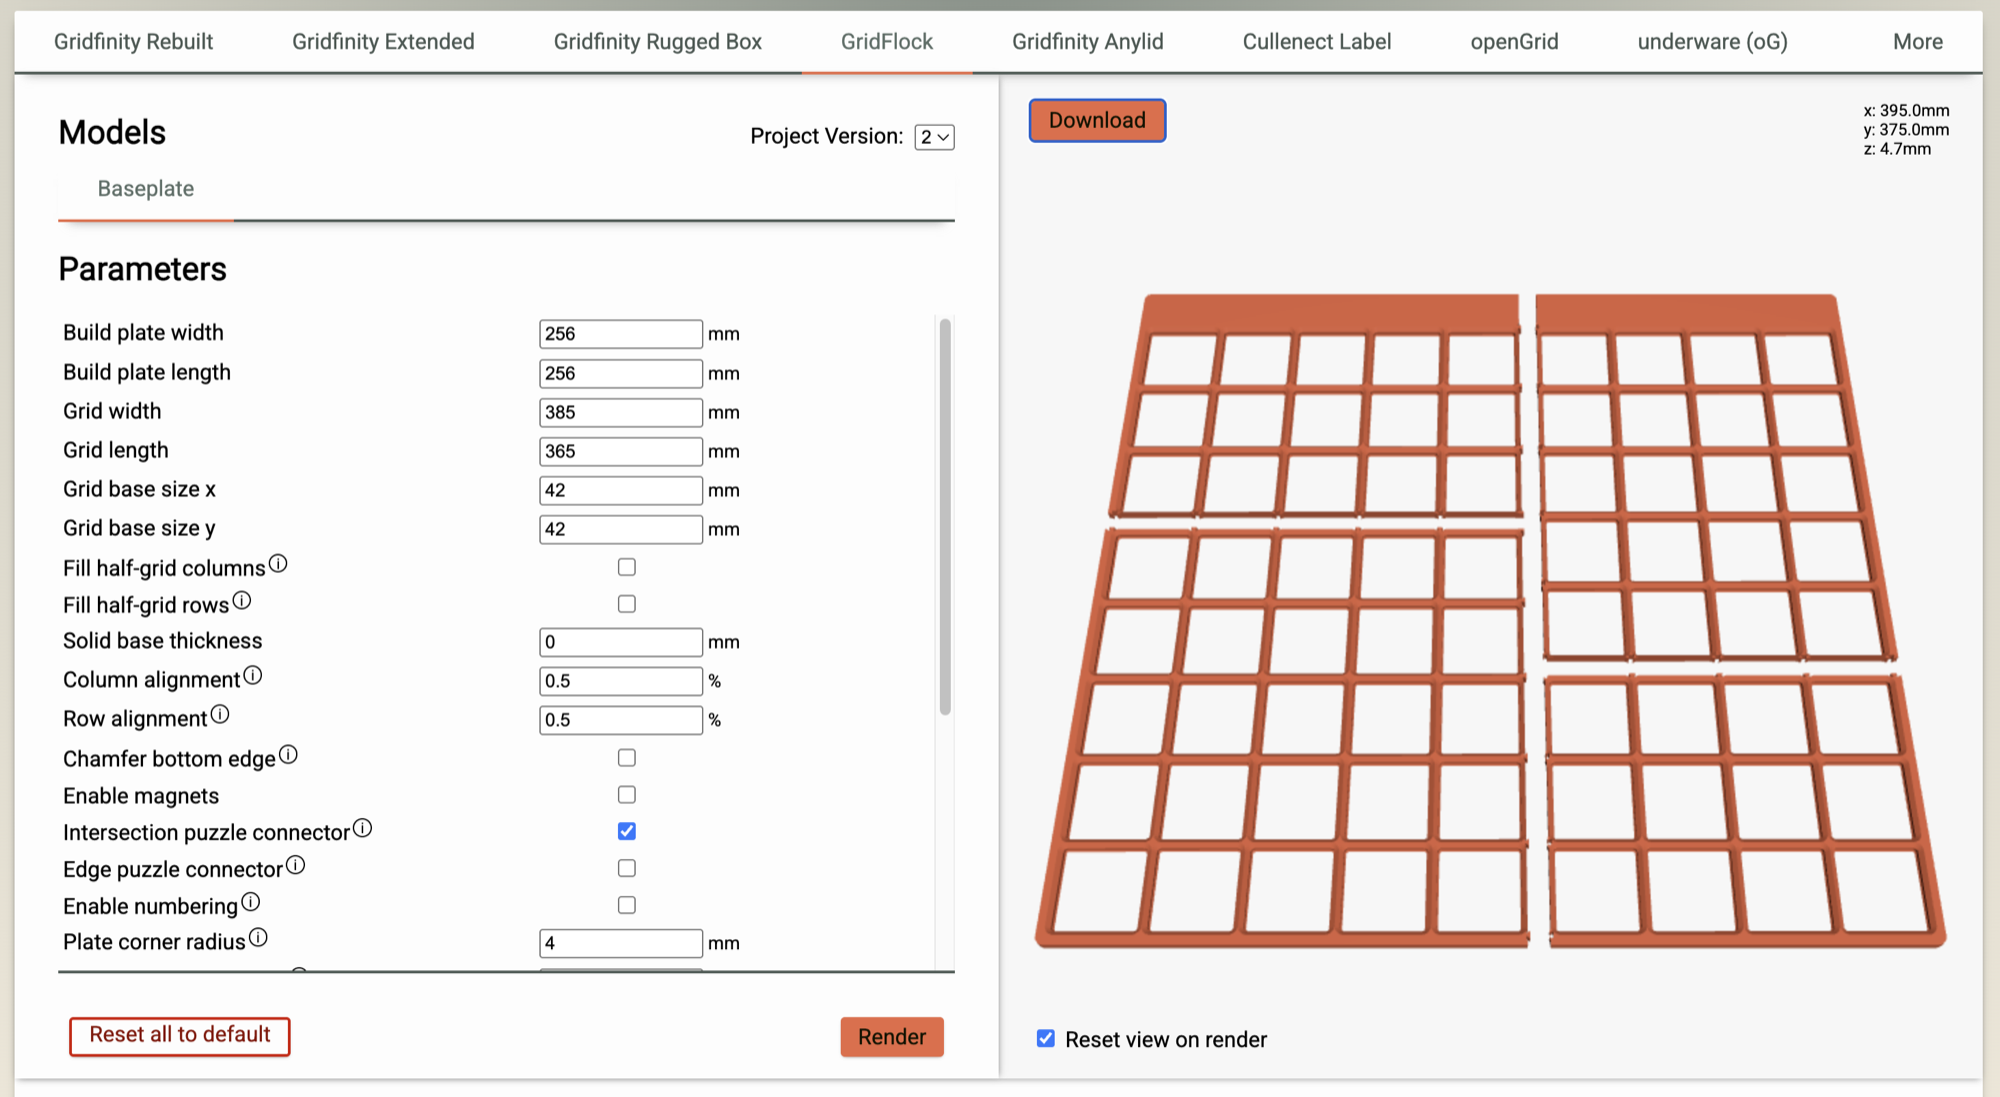
- I used the Perplexing Labs generator to make the base plate. I used GridFlock, magnets disabled, no half-width rows/columns, and added an offset to shift the extra “padding” towards the back of the drawer.
- That gave me an STL file that I opened in Bambu Studio. I right-clicked the model and selected Split → To Objects. Then I got a warning about the objects not fitting onto the print plate. Which made sense—they did not.
- I assigned each object to a separate print plate (which feels analogous to a sheet in Excel).
- I adjusted the quality settings to lower quality / faster prints. (I set global quality to “0.20mm Standard @BBL X2D”)
- I clicked slice, picked my filament, then clicked print.
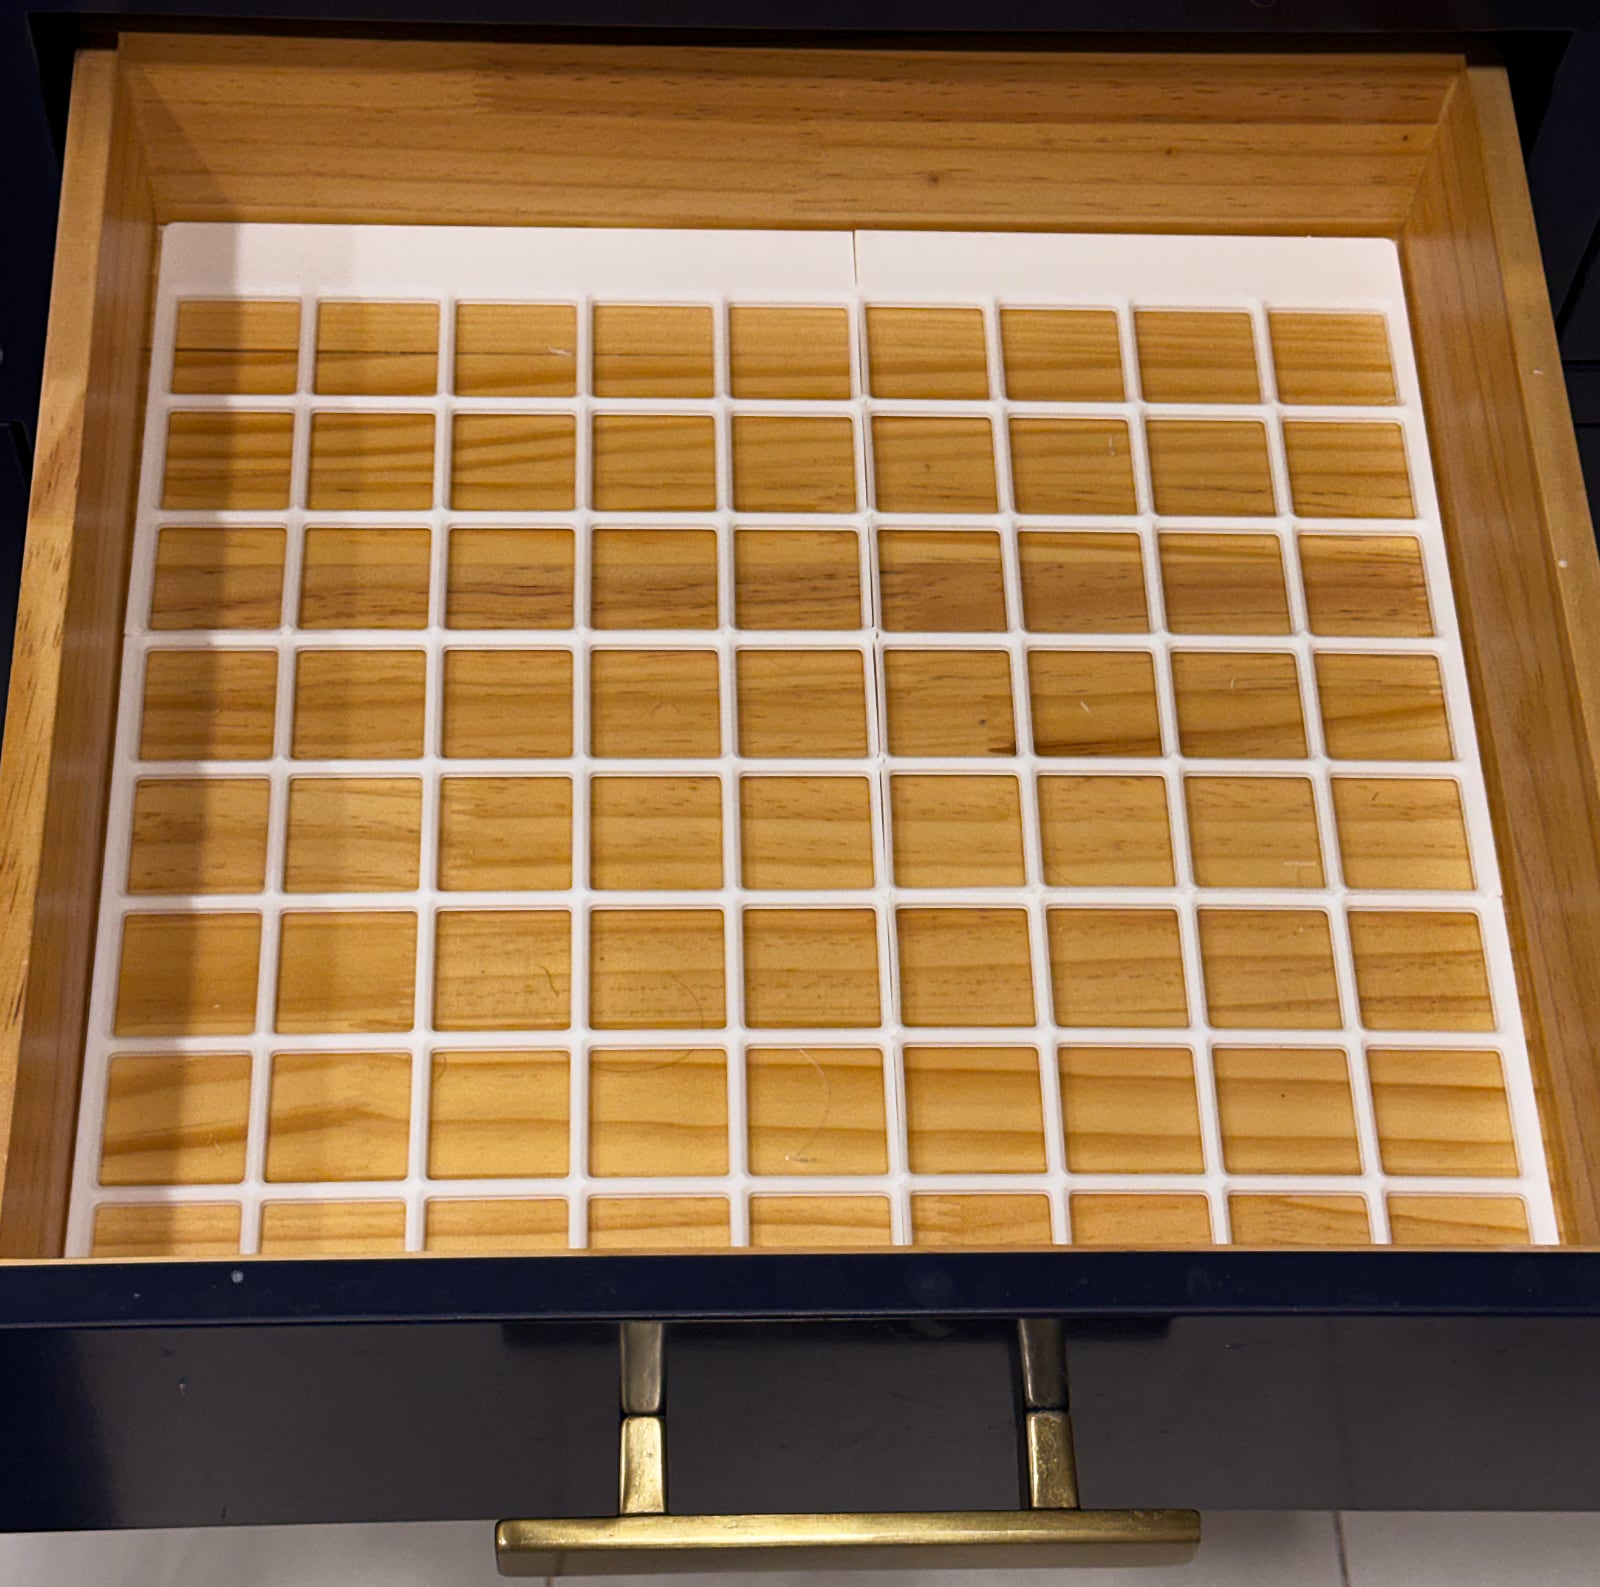
It was pretty amazing to hold something physical that previously existed only on my screen. After printing the grid and fitting it together, I laid out my toiletries and decided which size bins to print. I used Perplexing Labs Gridfinity Rebuilt with no magnets, stacking lip, or label tab.
A few things I learned:
- Printing takes time—longer than I expected—even for simple things. Each of the 4 pieces of my base plate took ~50 minutes. A set of several bins might take 4 hours. It’s almost enough to make you want a second printer.
- Deciding on the exact layout and z-height of bins was tricky because I wasn’t sure how it would feel to use them at different sizes. I had to remind myself “Done is better than perfect, you’re learning, we can always print something different later.”
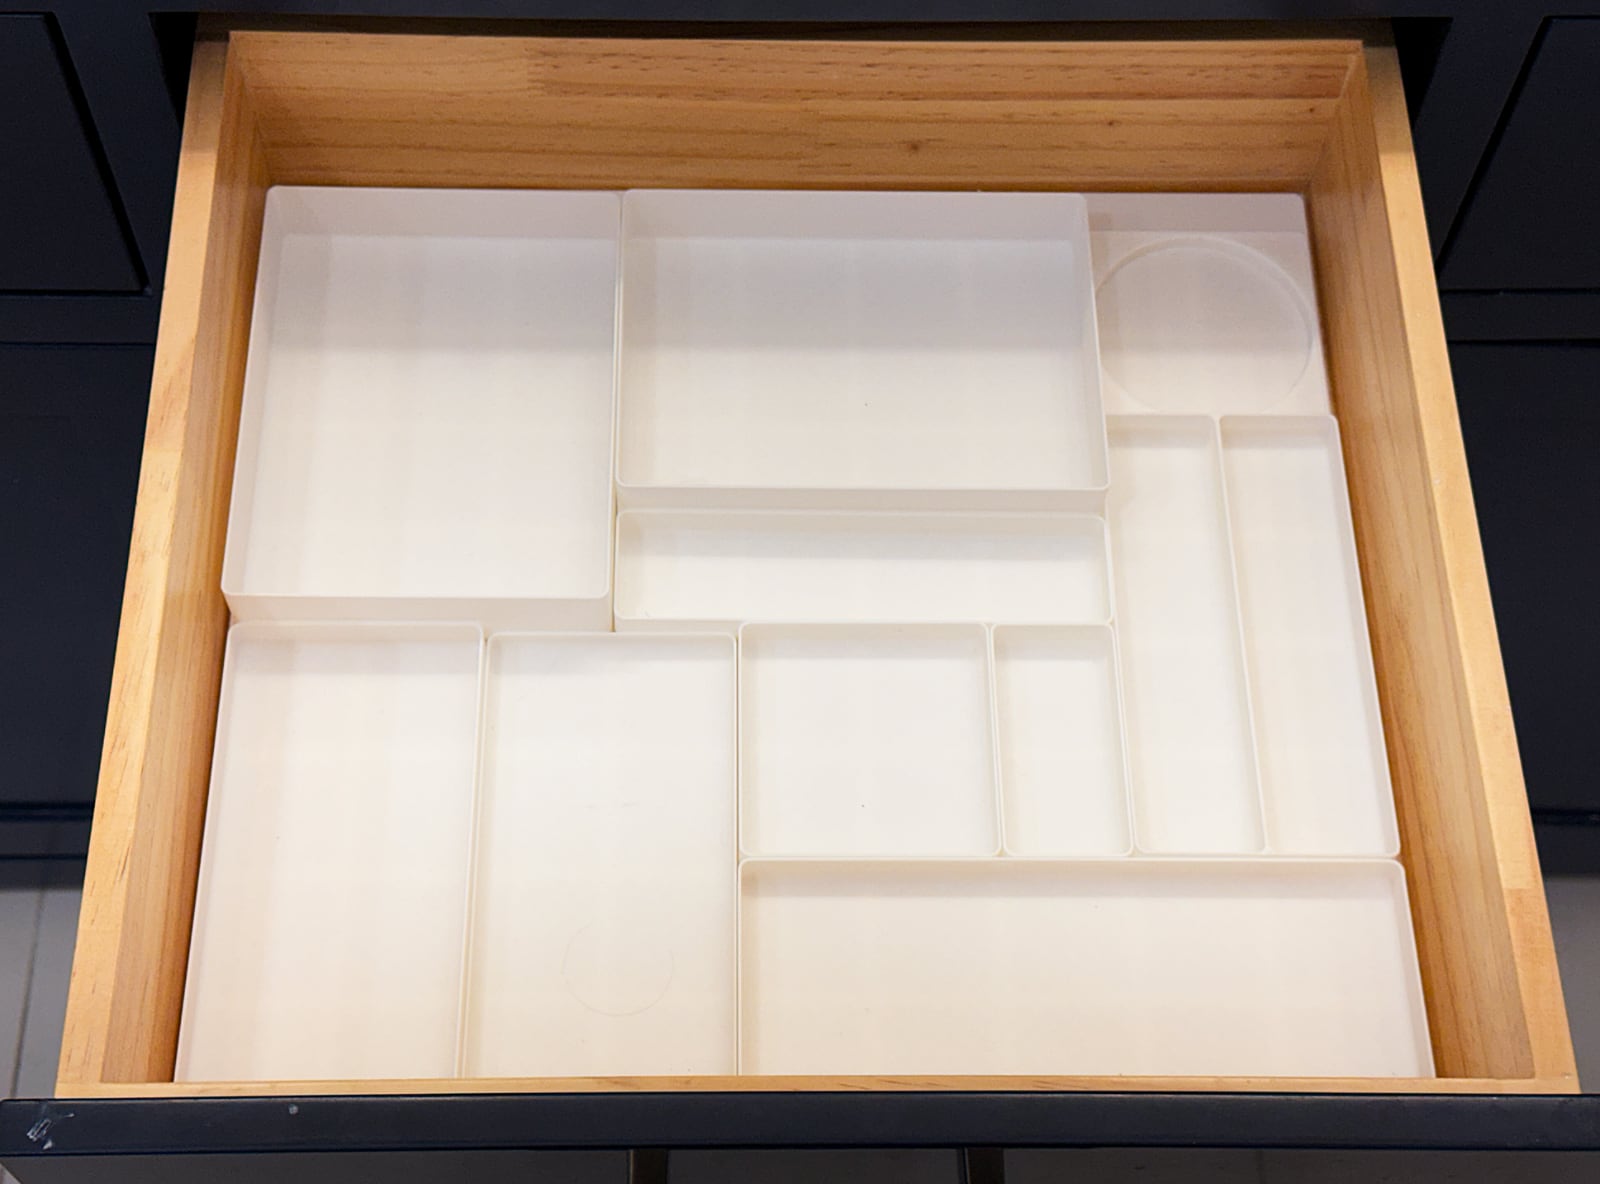
Overall, I’m pretty happy with the results. I’d like to experiment with custom bins and more vertically oriented organization.
Act V: What’s next
You could enjoy a 3D printer just downloading and printing existing models. There’s a lot of cool stuff out there! For me, though, part of the appeal is totally custom stuff where I can solve a problem that’s unique to me. My next goal is to learn some modeling software, probably a combination of Autodesk Fusion and OpenSCAD, and print something I make myself. I’d also like to find a way to get my kids more involved, whether it’s Tinkercad or turning their artwork into designs.
I will probably print more Gridfinity (Would I download a drawer? I sure as hell would!)
If I convinced you to buy a printer, that’s exciting! and/or I’m sorry.